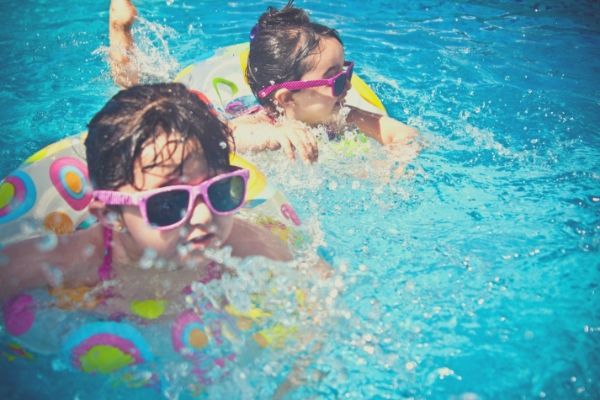
The doggy paddle! It’s a classic, isn’t it? So many of us who are now grown-ups remember learning to do the doggy paddle as little kids. It was often our first real experience with swimming. Once we mastered the doggy paddle, we felt we could conquer the whole pool!
The doggy paddle got us across the shallow end and then across the deep end. It helped us get from one point to the next when we were wearing our floatation device, because we were no longer stuck in one spot.
Even though most adult swimmers graduate from the doggy paddle to more effective swimming strokes, the doggy paddle is one of the basics. We remember being able to do it, but how do you teach your child to master this essential swimming basic skill?
How cool will it be when your beginner swimmer is freely moving around the pool playing with friends and family? Chances are you know how to do the doggy paddle, but how do you help your child master this essential basic swimming skill?
Paddle swimming takes coordination, step 1 is learning the movement
The first step to doggy paddling is to start building the movement patterns and coordination necessary to use the skill. At our swim school, we call this “paddle-movement development.” Here is a step-by-step guide:
- Start your child on the pool steps with water at about chest height
- You can either sit next to your child or face him or her
- Staying seated, slowly start reaching out and scooping the water back toward you - alternating 1 arm at a time
- The goal is to have your child mirror your actions - we like to make it into an engaging make-belief game, where we pretend our hands are spoons and the pool is a bowl of your child’s favorite ice cream
- You want to reach out with your spooned hand and grab a scoop of that ice cream and pull it all the way down to your pocket, where we’ll keep it to snack on later
- When we scoop, we like to say “chocolate” for 1 scoop and “vanilla” for our other scoop
Engaging the imagination turns sitting on the steps scooping the water into a fun game you both can bond over! You can do this activity together for about 30 seconds, 1 or 2 times until your child can demonstrate the basic movement pattern. Although this activity looks simple, it requires a good amount of coordination and muscle development for a young child. So, stay patient and have as much fun together as you can!
Step 2: Leave the steps and start paddling around the pool
Step 2 is a lot like step 1, except this time instead of staying seated at the steps you’ll both be moving around the pool together! Step 2 is still all about continuing the process of coordination and movement pattern development, so you’ll be helping your child throughout this activity.
- Come behind your child in the water, like you were about to hug them from the back
- Place your right hand over their right hand and and left over left.
- Using the same imagination engaging game from step 1, start moving around the pool scooping ice cream together and filling up your pockets
- “Chocolate” and “vanilla” or whatever other flavors of ice cream your child loves most
Moving around the pool in step 2 will allow your child to start learning how it feels to glide through the water while reaching, scooping, and pulling. Step 2 will also encourage your child to give it a go for themselves without your immediate support.
Once your child has mastered these skills, begin to work on the doggy paddle itself.
Your child is so close to independent swimming! Using the progressive floatation device that we went over in Lesson #2, you can actually let go of your child (if he or she is comfortable and ready) and allow him or her the ability to practice paddle swimming with your immediate help.
Remember to stay focused on forward propulsion and less on the fine details. When your child starts finding success with the doggy paddle, you’ll see:
- One arm at a time will reach out until it is fully extended at the shoulder.
- That arm will scoop the water and pull backwards to the feet until the hand reaches the “pocket” area at the hip.
- Your child’s fingers should be touching and their hand should be fully open - not a fist
At this point in the doggy paddle development, your child will be in a more vertical (up and down) body position. Once your child is moving around the pool using the basic doggy paddle we’ve outlined above, you should encourage him or her to start kicking their feet. Working on getting the feet to make small splashes will allow your child to move into a horizontal body position - which is the ideal swimming position.
What comes after the doggy paddle?
In our next post we’ll talk about back floating! Want a reminder when the post goes live? Sign up for our email series on the 9 essential steps to teaching your child to swim.
We would also love to see you in our FUNdamentals class! This is our class designed for young children, ages 2.5 through 8. We work with nervous swimmers, eager swimmers, brand new swimmers, and everybody else! We believe that swimming is an essential skill for childhood and adulthood, and we also believe that the best teacher for a young swimmer is their parent or caregiver!


